 Add Main Image - Request to have your image featured here.
Difficulty
Easy

Physical Effort
Low - Moderate
Exp Required
None
Price Range
$0

Uniqueness
4
Age Range
Child - Senior
Min Number
N/A
Complexity
Moderate
Description
 Edit
Edit
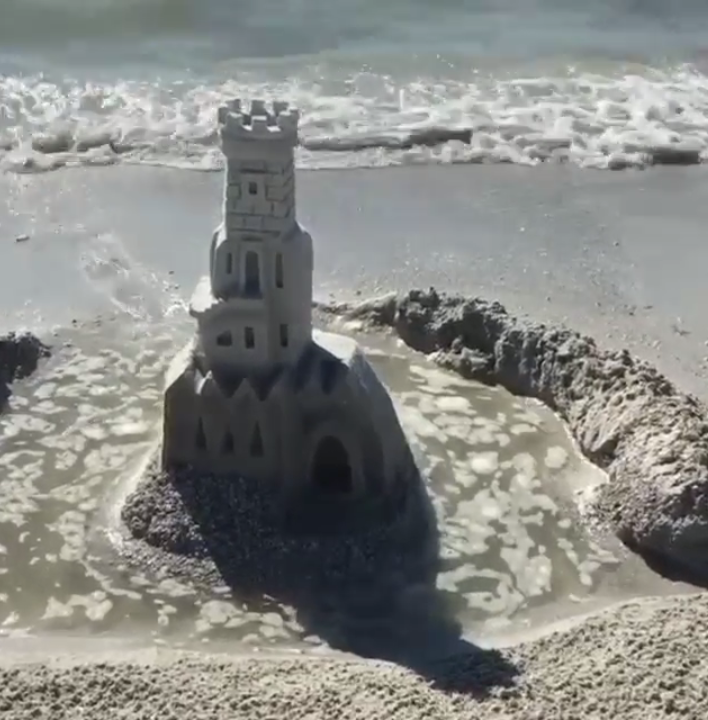
Build your own castle and maybe add a moat. Have some summer fun!
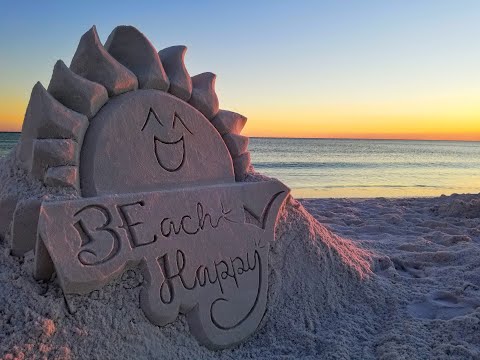
Sand art is the practice of modelling sand into an artistic form, such as a sand brushing, sand sculpture, sandpainting, or sand bottles. A sandcastle is a type of sand sculpture resembling a miniature building, often a castle.
The two basic building ingredients, sand and water, are available in abundance on a sandy beach, so most sand play takes place there, or in a sandpit. Tidal beaches sometimes have sand that limits height and structure because of the shape of the sand grains. Good sculpture sand is somewhat dirty, having silt and clay that helps lock the irregular-shaped sand grains together.
Welcome to Sandcastles 101.
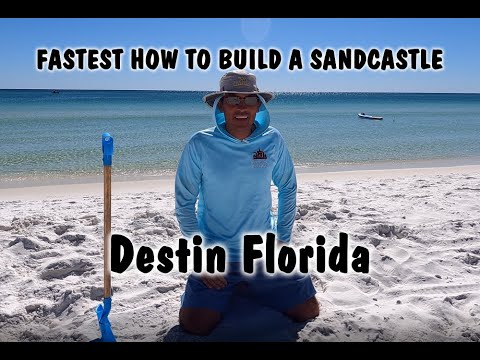
Get ready to slap on some sunscreen and get creative. I hope these tips and tricks will help you get the most out of a day at the beach and wow your friends and family – not to mention other beach goers, and maybe even give you that edge to win the local competition. So let’s get started…
TOOLS:
Buckets are number one – the bigger the better! WATER is the most important thing about a sandcastle, it is the thing that makes it stay together and you will need LOTS of it. The bigger the bucket the better but keep in mind that they are REALLY heavy when full. You still want to be able to carry them up the beach.
Shovels are also handy when making large forms but keep in mind you will be shovelling wet sand as well as dry and to go easy on your back.
Carving tools can be made from anything and everything. Something as simple as plastic knives and forks work well (please take all trash with you). Simple everyday household items like chopsticks or a trowel can work well too. If you really want to get fancy though, painters palette knives make sharp edges easy, large soft paintbrushes create smooth surfaces, and a straw is a must-have to blow the sand away as you carve out fine detail. A spray bottle with water is also a good idea for keeping working surfaces wet.
DESIGN:
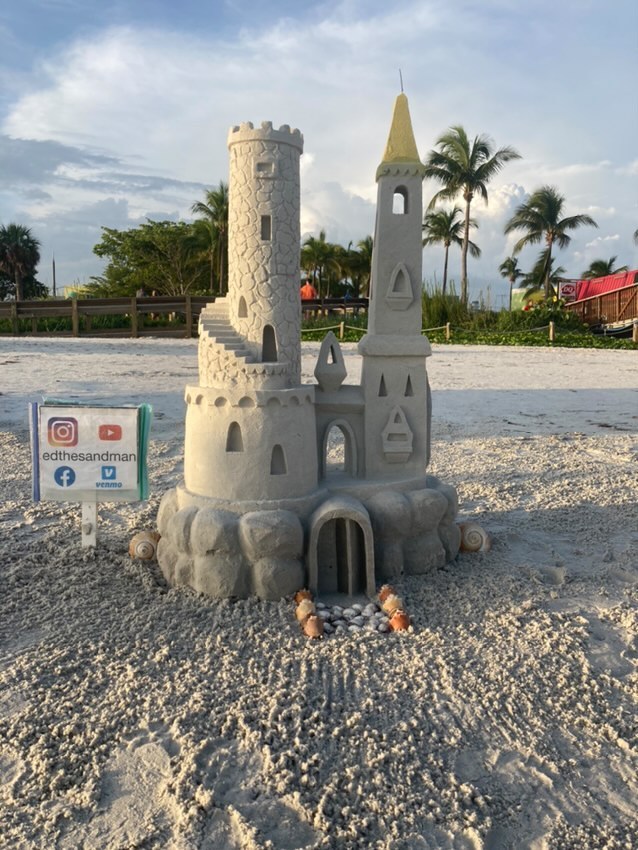
Just because everyone else does, doesn’t mean you have to create a Castle out of sand. Your ideas are only limited by your imagination. Other popular options are of course mermaids, sharks, whales, and other seaside themes. But every now and then dare to be different. The only side notes I will make to this are; when entering a contest judges like to see a story. What is your mermaid doing? Is your shark about to eat a fish? Add humour when you can. Secondly, some sand will not hold heavy undercutting, large arches, or freestanding arms etc. The finer the sand or the more clay it has in it the more it can support fancy arches and designs. Keep this in mind when you are planning. You will spend hours trying to get your mermaid’s hand to point or her nose and chin to stay on and you won’t win against gravity.
Second Biggest tip is the placement of your castle/sculpture. Make sure you are building above the high tide line or you know then the tide is going in and out. It moves faster than you think. Also, decide on your best backdrop and photo angles. Your sandcastle wont last forever but the pictures will so make sure you plan it with a water view or sunset that will really show off your great day at the beach.
MAKING MOUNDS:
Water is key to this first step. Dry sand is no good and a mound of dry sand will never absorb water no matter how many buckets you pour on it, the water will just run down the sides. Sand must be piled up layer by layer by heaping handfuls of wet sand. For really big shapes you can use the volcano method. Make a divot in the sand, pour in water, mix it around till it feels like sloppy wet cement. Pull that wet sand out of the middle up the sides and pattycake it down till firm. Add dry sand to your volcano center, pour in water, mix it like a cement mixer, drag the wet sand up the sides and take your volcano walls another inch higher. The key is not to dig to china so remember to fill in your center with fresh dry sand and always pattycake the walls as hard as you can. The harder and wetter your sand the easier it will be to carve and the less likely it will be to crumble. This method will give you a solid mound that you can add lumps and shapes to after but will be firm and easy to carve your details in after.
I suggest drawing an outline of where your sculpture is going to sit. If you are doing a person, for instance, have a friend lie down and draw around them. Then start building the sand up inside your lines to the rough height and shape you need. Pat and pack the sand tight and keep pouring on the water until your shape is hard and smooth. Now you are ready to carve.
DETAILS:
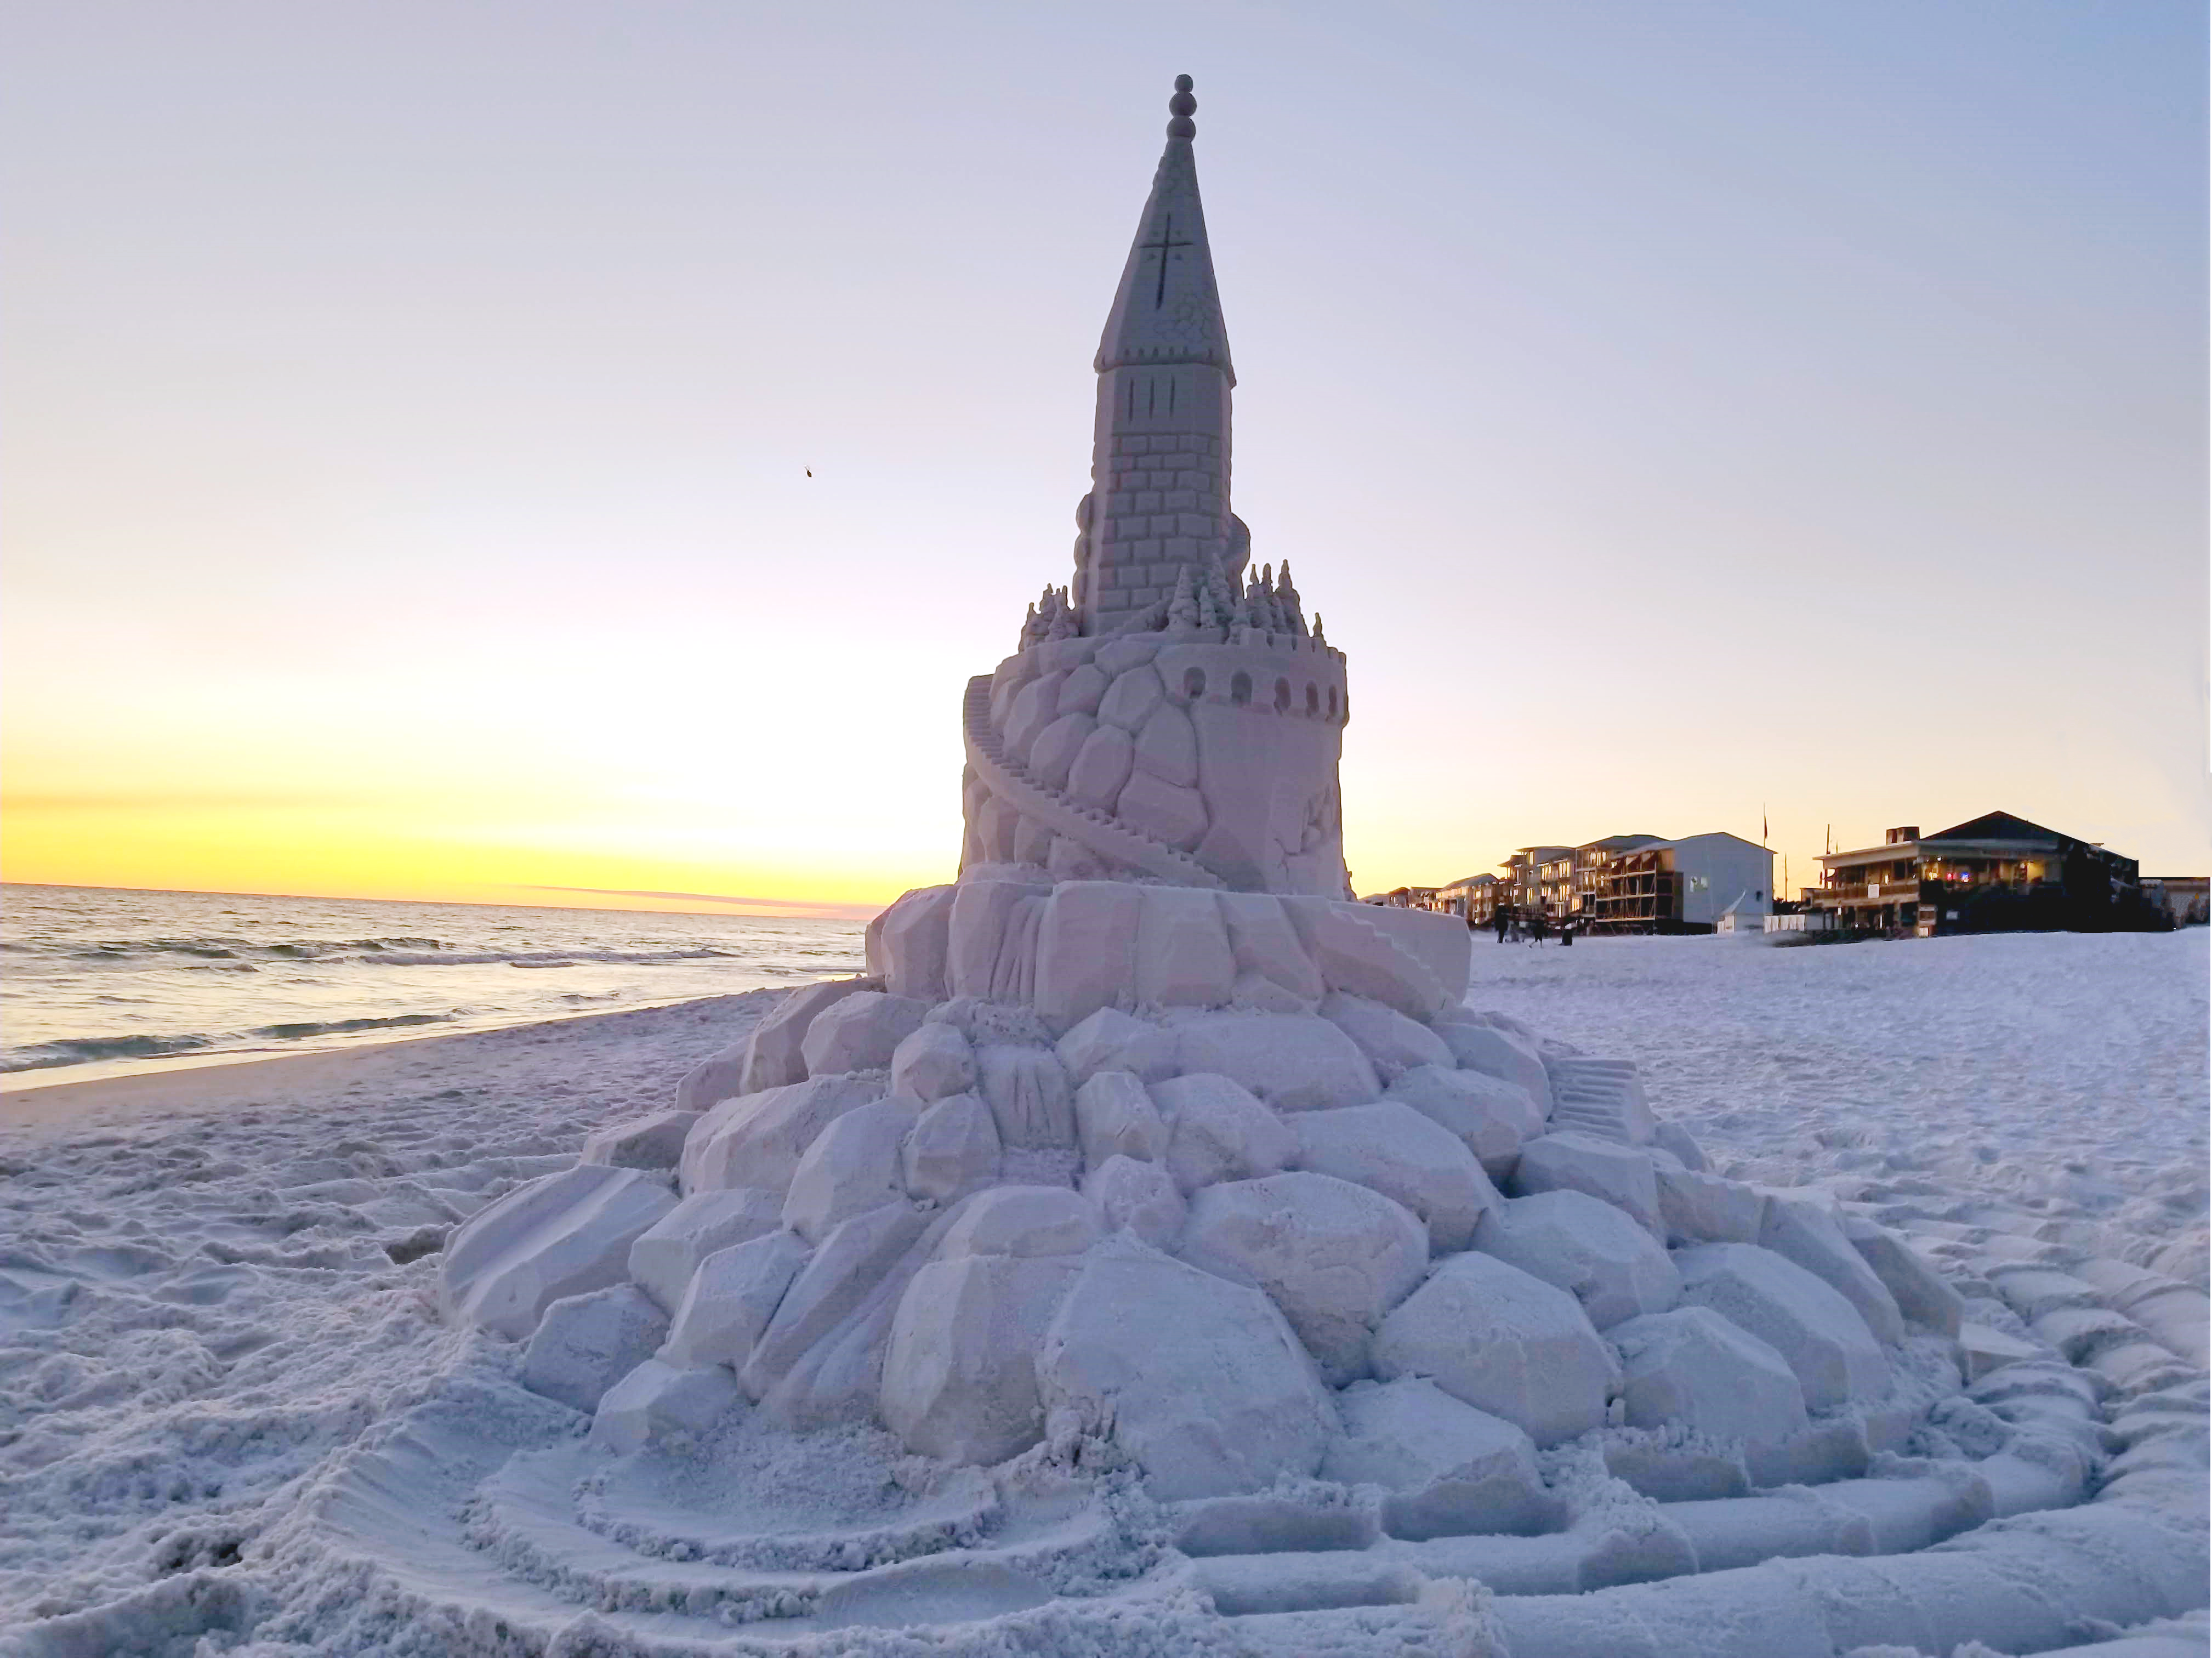
Start to cut away at your mounds and shape them into your sculpture’s arms, legs, turrets, or towers. At this point, I recommend taking time to walk around and look at your piece in progress. That tower you just spent the last hour perfecting actually leans away from you when you look at it from the other side. This becomes important if you want to keep things in proportion.
Always work your details from the top down so that the sand you cut away doesn’t fall on the details below and cover it.
Lettering, windows and doors, should be sketched out lightly and cut away with a sharp metal object like a pallet knife. Straws can be used to blow the sand you are carving out of corners and crevices.
Tunnels can be made by carefully packing sand until it is rock hard. Then slowly cutting an arch into it. If you can, go from both sides and work towards meeting in the middle. Be very careful how thin you make your tunnels. Always remember gravity.
Cracks are never fun and always scary. They can often be fixed by adding water and GENTLY patting some very wet sand on top, then adding more water to cement it in place. Prayer works here too.
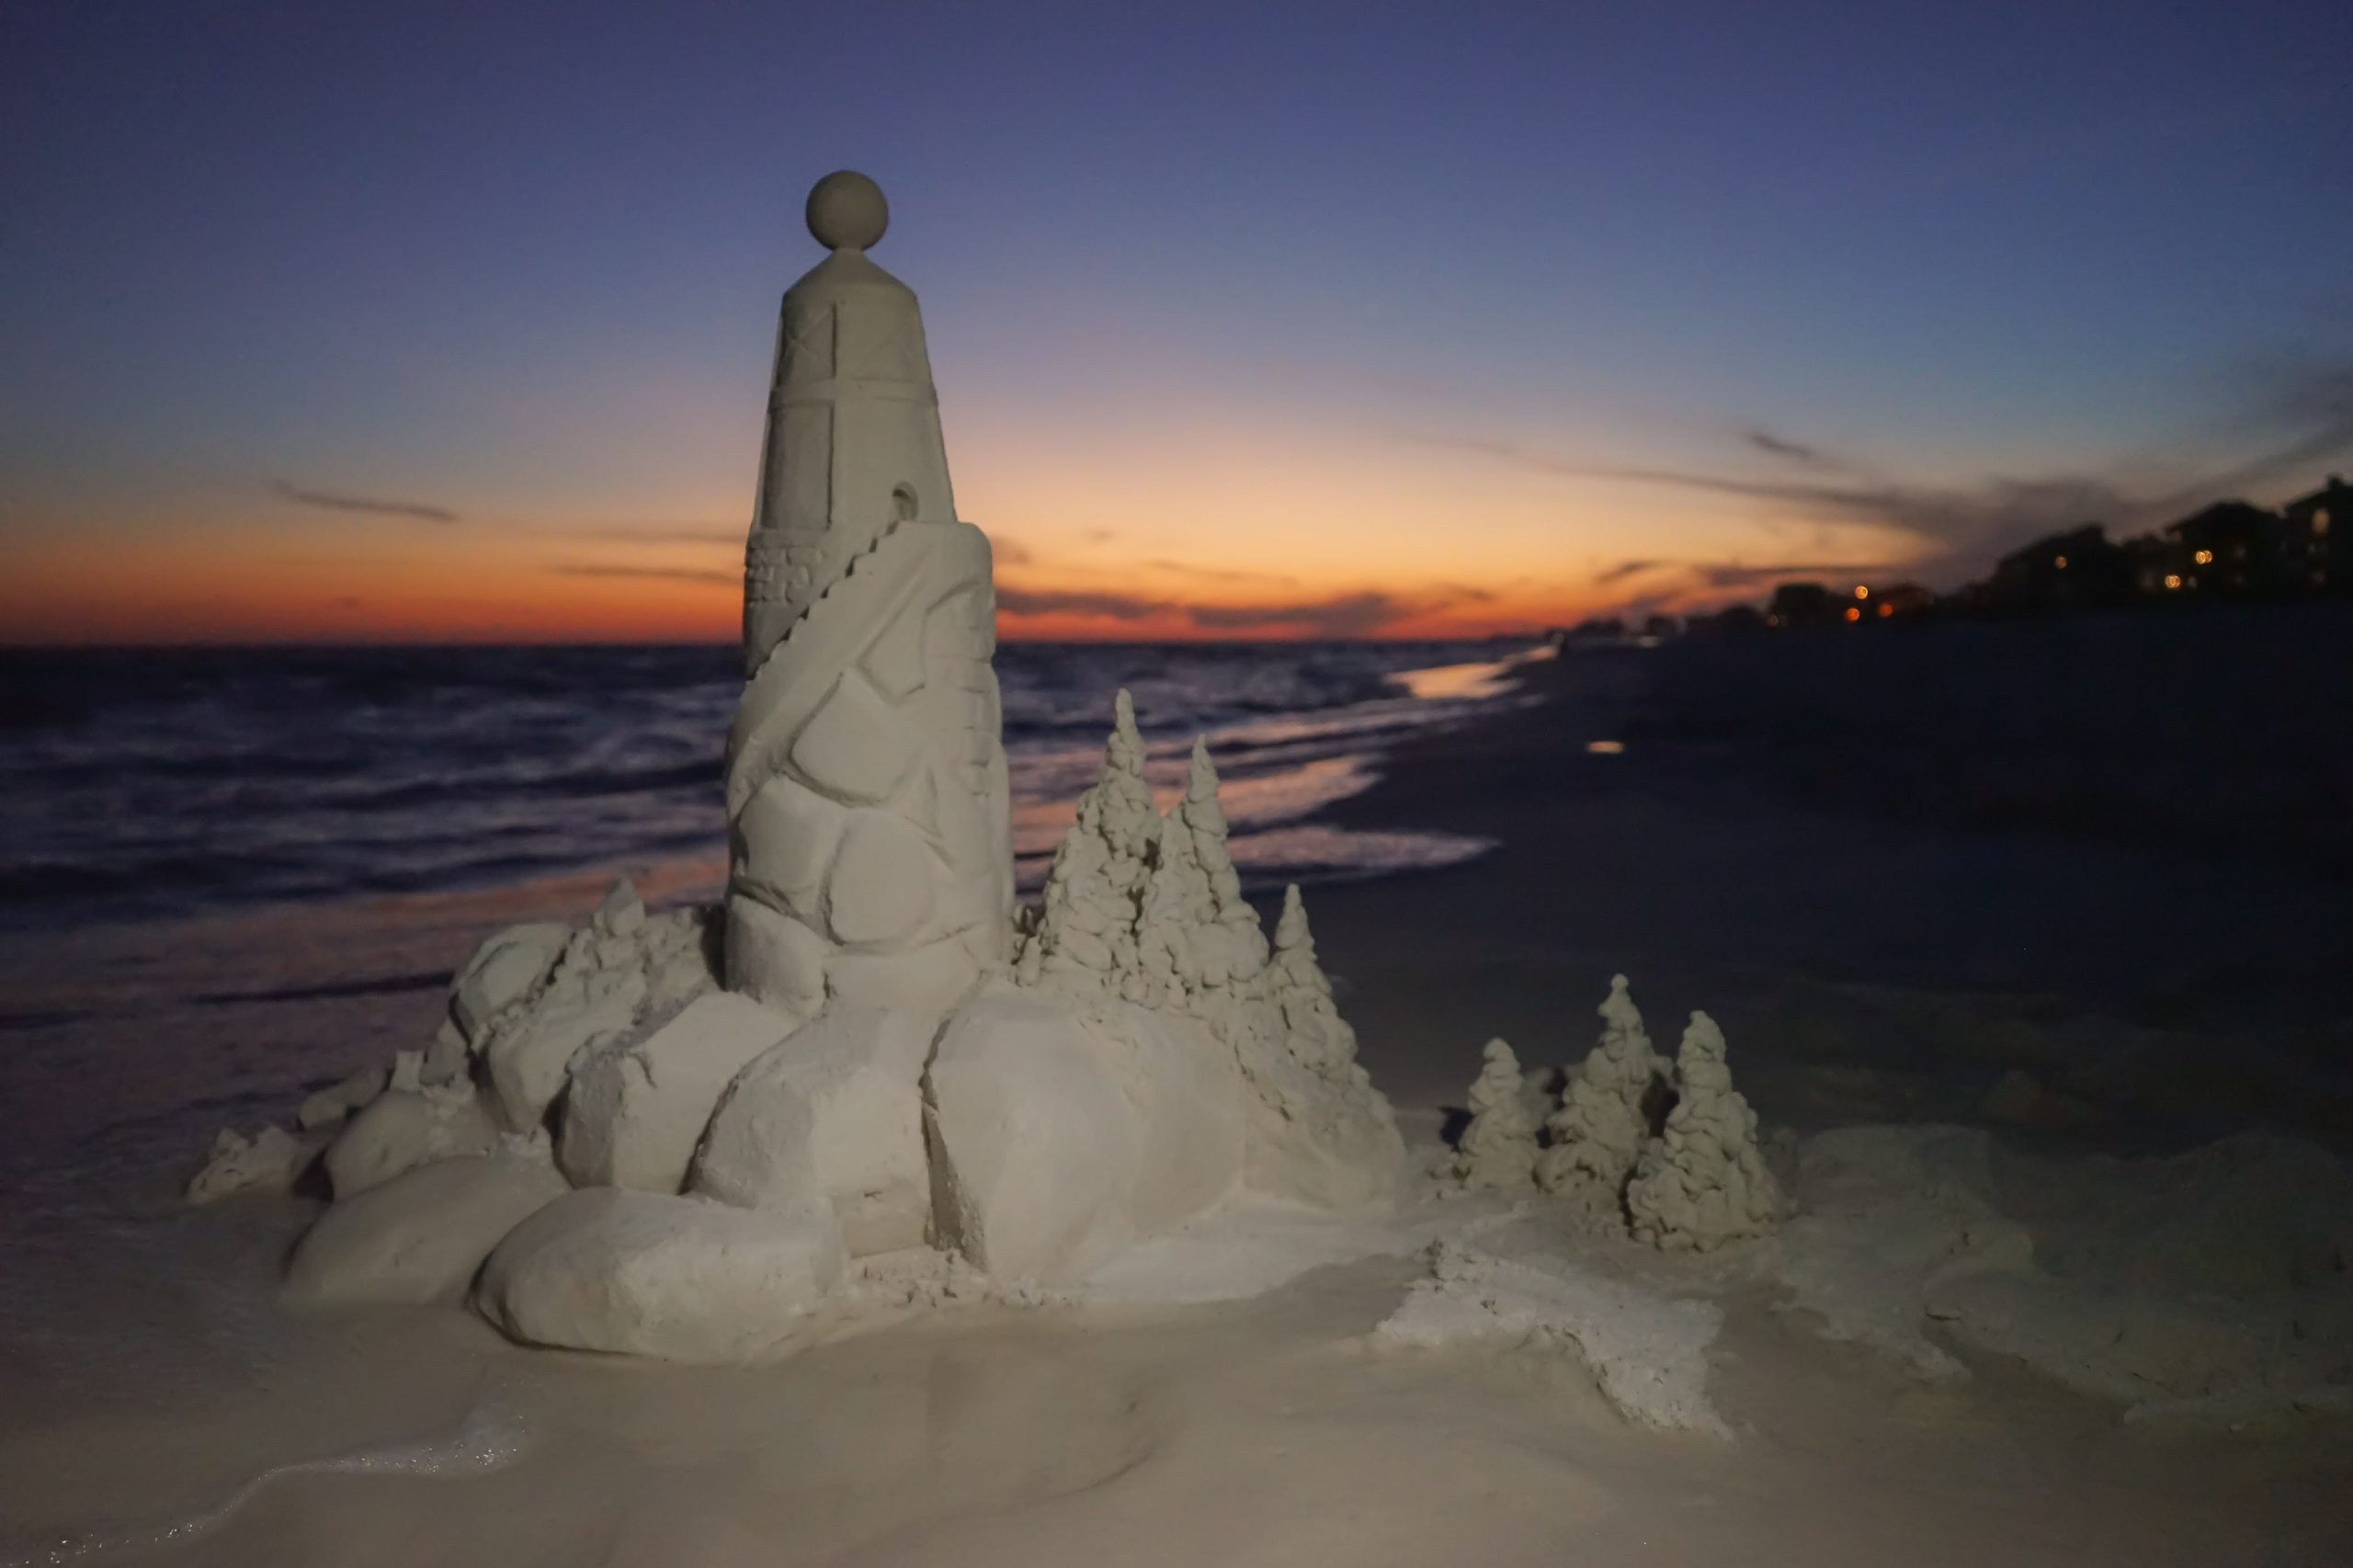
Textures can also play a huge role in adding life to your sculpture. Soft, smooth surfaces can be made with a wide house painter’s brush. Often a rake can be used to add rough lines or even out a surrounding area. The contrast of a smooth surface next to a rough surface can really pop your sculpture.
“Dribbles” using handfuls of wet sand and letting it drip through your fingers can make great hair, trees, or tops to your towers.
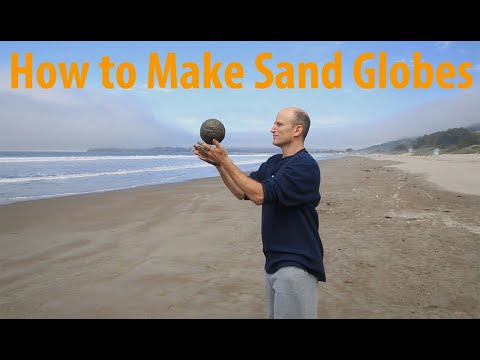
Make sand globes (balls made from sand) add them to the tops of walls or towers.
To make stairs simply create a ramp in the direction you want them to go. Start at the top of your ramp making 90 degree cuts down half an inch and then across half an inch, then down again and continue until you reach the bottom.
I hope this helps to bring your ideas to life. Be sure to take lots of pictures of your finished work because chances are tomorrow you will have a clean slate to start all over again. This time BIGGER and Better than yesterday.. :)

Sand Caslt Moat Ocean
 Nathan
Happy Earth Day
 Aditya Kamat
Stick Figure Band Logo

Choose Kindness
SandCastle

SandCastle

SandCastle

SandCastle

SandCastle
SandCastle

SandCastle

Sand Castle
Categories:
- Sand
- Art
- Sculpture
- Health & Fitness
- Exercise
- Misc Activities
- Recreation
- By Location
- Beach & Sea
- Beach
- Moods:
- Meditative Things To Do
- Do Something Creative
- Make Something Creative
- Get Hyper
- Embrace Hyper
- Release The Hyper
- Calm
- Chillin
- Creative
- Energetic
- Hyper
- Meditative
Warning: Undefined variable $post in /home/explor78/public_html/wp-content/fluent-snippet-storage/5-cat-mood-tags.php on line 70
Warning: Attempt to read property "ID" on null in /home/explor78/public_html/wp-content/fluent-snippet-storage/5-cat-mood-tags.php on line 70
Build a Sand Castle / Sculpture added by:
Nathan
Hey! I am the Founder of ExploreLife.Today
Last Edited by:
Nathan
Hey! I am the Founder of ExploreLife.Today
Edit Activity
Help improve this activity by making an edit, adding details or images and videos
Create New Activity
Become an ExploreLife.Today contributor! Help inspire people from around the world discover an activity to do.
Become A ContributorWhere
Edit Indoor
NO
Outdoor
Outdoor
At Home
NO
How To
Cost
Edit 
PRICE RANGE
$0
COST
$0 - $0
When
Edit TIME OF DAY
Day
Season
Duration
15 to 240 hours
Hours
- MON: -
- TUE: -
- WED: -
- THU: -
- FRI: -
- SAT: -
- SUN: -
Dates
Start: 0000-00-00
End: 0000-00-00
Who
Edit AGE RANGE
ChildPre-teenTeenAdultSenior
GROUPS